Boreholes
Add New Borehole
Adding a single borehole record
What : Adding a single borehole record
Who : Global Admin, Country Admin.
How :
-
Go to https://tims.unhcr.org/ in your web browser.
-
Sign in with your username and password.
-
After logging in, you will be directed to the Home page.
-
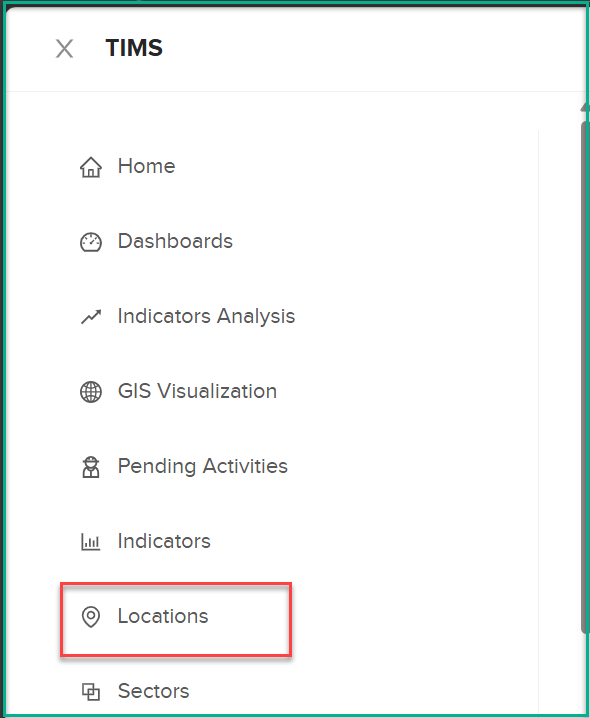
Navigate to the Locations page.
-
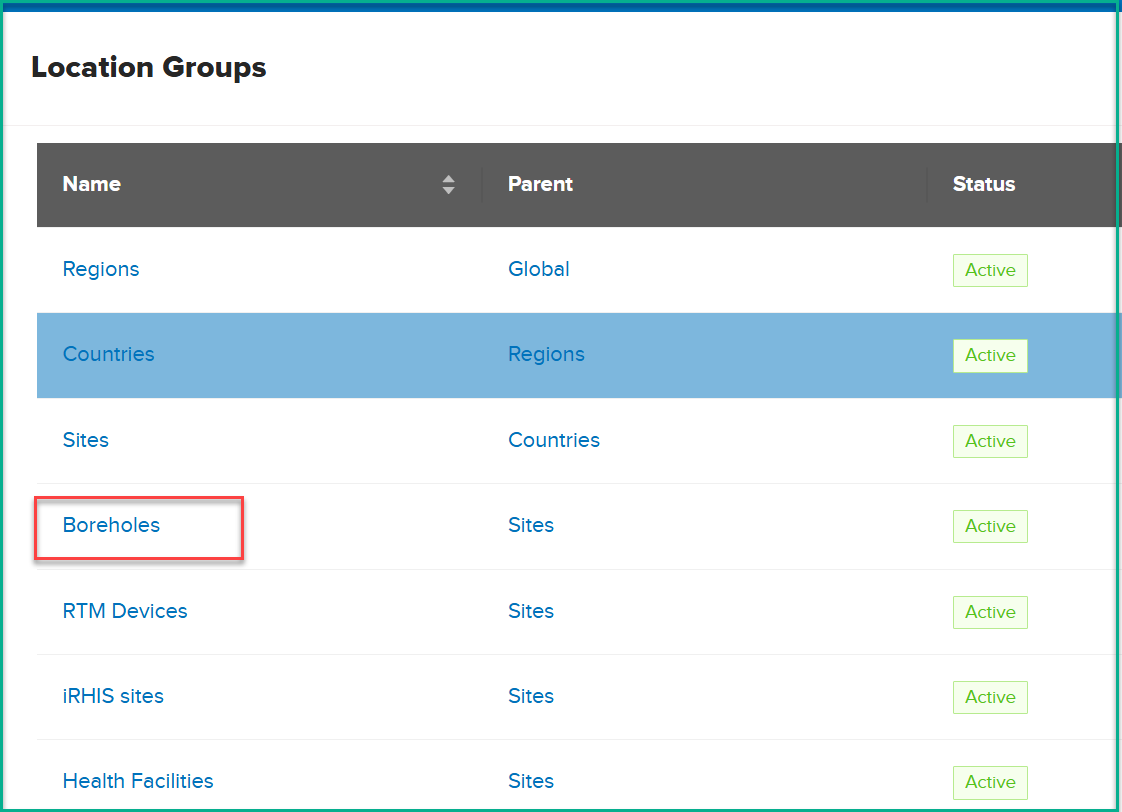
Click on the Boreholes option.
-
The system will open a new page.
-
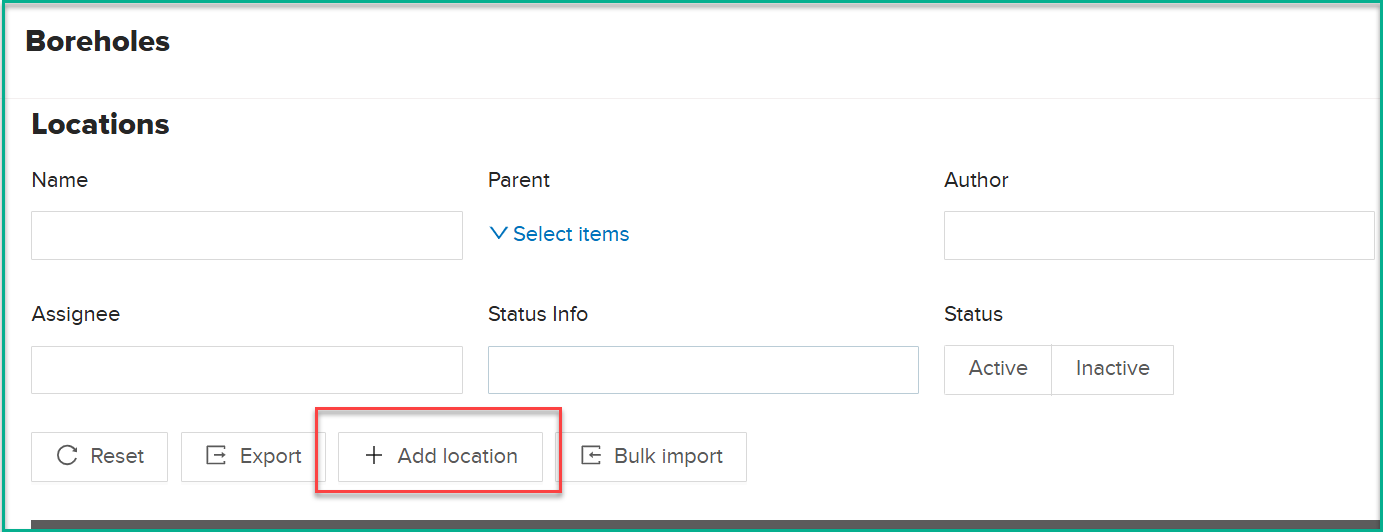
Click on the Add Location button.
-
A dialog box labeled "Add Location" will appear.
-
Fill in all the required fields.
General Information
-
Name: Text input, required
-
Comment: Text input, optional
-
Code: Text input, required
-
Parent: Parent is the site where the borehole is located , required
-
Status: Options: Active, Inactive , required
-
Visibility: Options:Public: Available to all users, including anonymous, non-logged users,Private: Only available to logged-in users.,required
- Geometry : (Latitude: Decimal input, required) , (Longitude: Decimal input, required)
Borehole, Pump, and Energy Specifications
-
Depth [m]: Decimal input, required Range: 0 to 1000 meters.
-
Static Water Level [meters below ground level]: Decimal input, optional Range: 0 to 500 meters.
-
Type of Pump: Dropdown, required Options: Hand pump, Foot pump, Electrical pump.
-
Pump Brand and Model: Free text, optional Max 100 characters.
-
Pump Depth [m]: Decimal input, optional No limit on decimal values.
-
Casing Diameter: Decimal input, required Range: 0 to 1000, unit selection follows.
-
Unit: Dropdown, required Options: Inches, Millimeters (mm).
-
Casing Material: Dropdown, required Options: PVC, Steel, Concrete.
-
Driller’s Yield [m³/hr]: Decimal input, optional Range: 0 to 1000 m³/hr.
-
DWL at Driller’s Yield [m]: Decimal input, optional Depth to water level during drilling, range 0 to 1000 m.
-
Pumping Tests Pumping Test Quality Control Evaluation from Solar Tool: Read-only.
-
Safe Yield from Solar Tool [m³/hr]: Read-only.
-
Transmissivity from Constant Rate Pumping Test [m²/sec]: Decimal input, optional Range: 0 to 1000.
-
Screened Areas [m]: Text input, required
Input format: Start-End for each screened area, separated by commas. Example: 23-30, 32-35, 38-41.
-
End of Casing/Start of Open Hole [m]: Decimal input, optional** Range: 0 to 1000 m.
-
Aquifer Type: Dropdown, required** Options: Fractured rock, Porous, Karstic.
-
Daily Pumping Time [hr]: Decimal input, required** Range: 0 to 24 hours.
Water Quality
-
Date of Water Quality Data Collection: Date input, required Format: dd/mm/yyyy.
-
Conductivity [μS/cm]: Decimal input, required Range: 0 to 5999 μS/cm.
-
pH: Decimal input, required Range: 0 to 14.
-
Turbidity [NTU]: Decimal input, required Range: 0 to 100 NTU.
-
Ammonia Concentration [mg/L]: Decimal input, optional Range: 0 to 100 mg/L.
-
Arsenic Concentration [μg/L]: Decimal input, optional Range: 0 to 99 μg/L.
-
Fluoride Concentration [mg/L]: Decimal input, optional Range: 0 to 19 mg/L.
-
Nitrate Concentration [mg/L]: Decimal input, optional Range: 0 to 499 mg/L.
-
Nitrite Concentration [mg/L]: Decimal input, optional Range: 0 to 10 mg/L.
- Click on Submit.
-
-
Wait for a few minutes for the borehole to be created.
Adding a group of boreholes as a bulk import
What : Adding a group of boreholes as a bulk import
Who : Global Admin, Country Admin.
How :
-
Go to https://tims.unhcr.org/ in your web browser.
-
Sign in with your username and password.
-
After logging in, you will be directed to the Home page.
-
Navigate to the Locations page.
-
Click on the Boreholes option.
-
The system will open a new page.
-
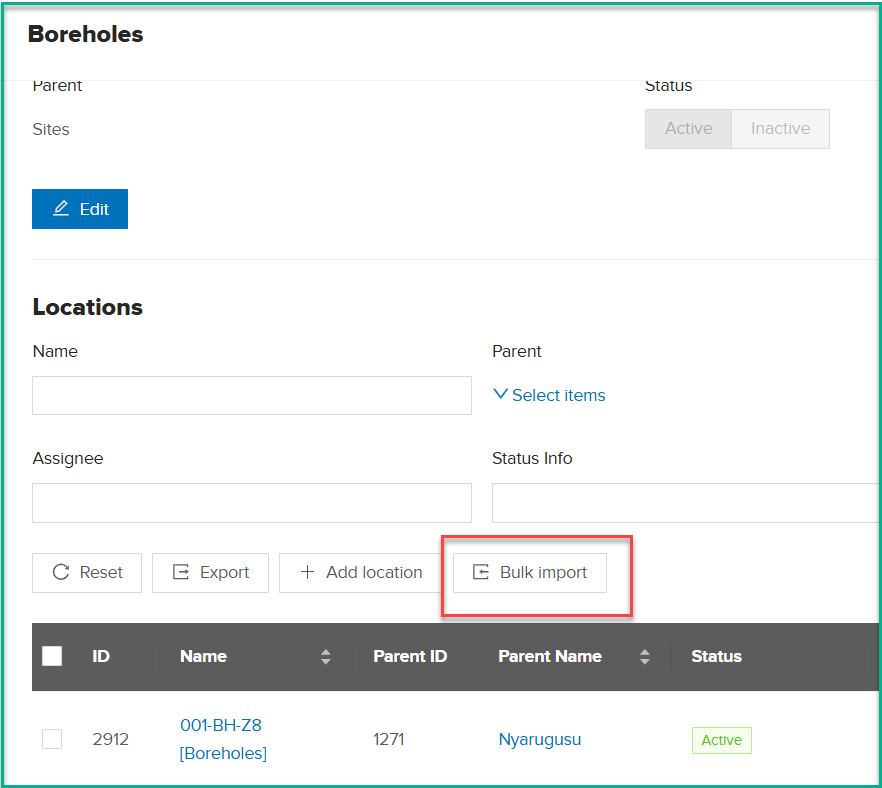
Click on the 'Bulk Import' button. The system will open the bulk import dialog.
-
Click on 'Download Locations Template'.
-
Open the downloaded file and fill in the TIMS Name column and Code column. The Location ID should be left empty, and the Location Group should be set to 'Boreholes'. In the Parent column, add the site name.
-
Fill in all other fields as necessary, then save the file.
-
Click on the 'Upload' button.
-
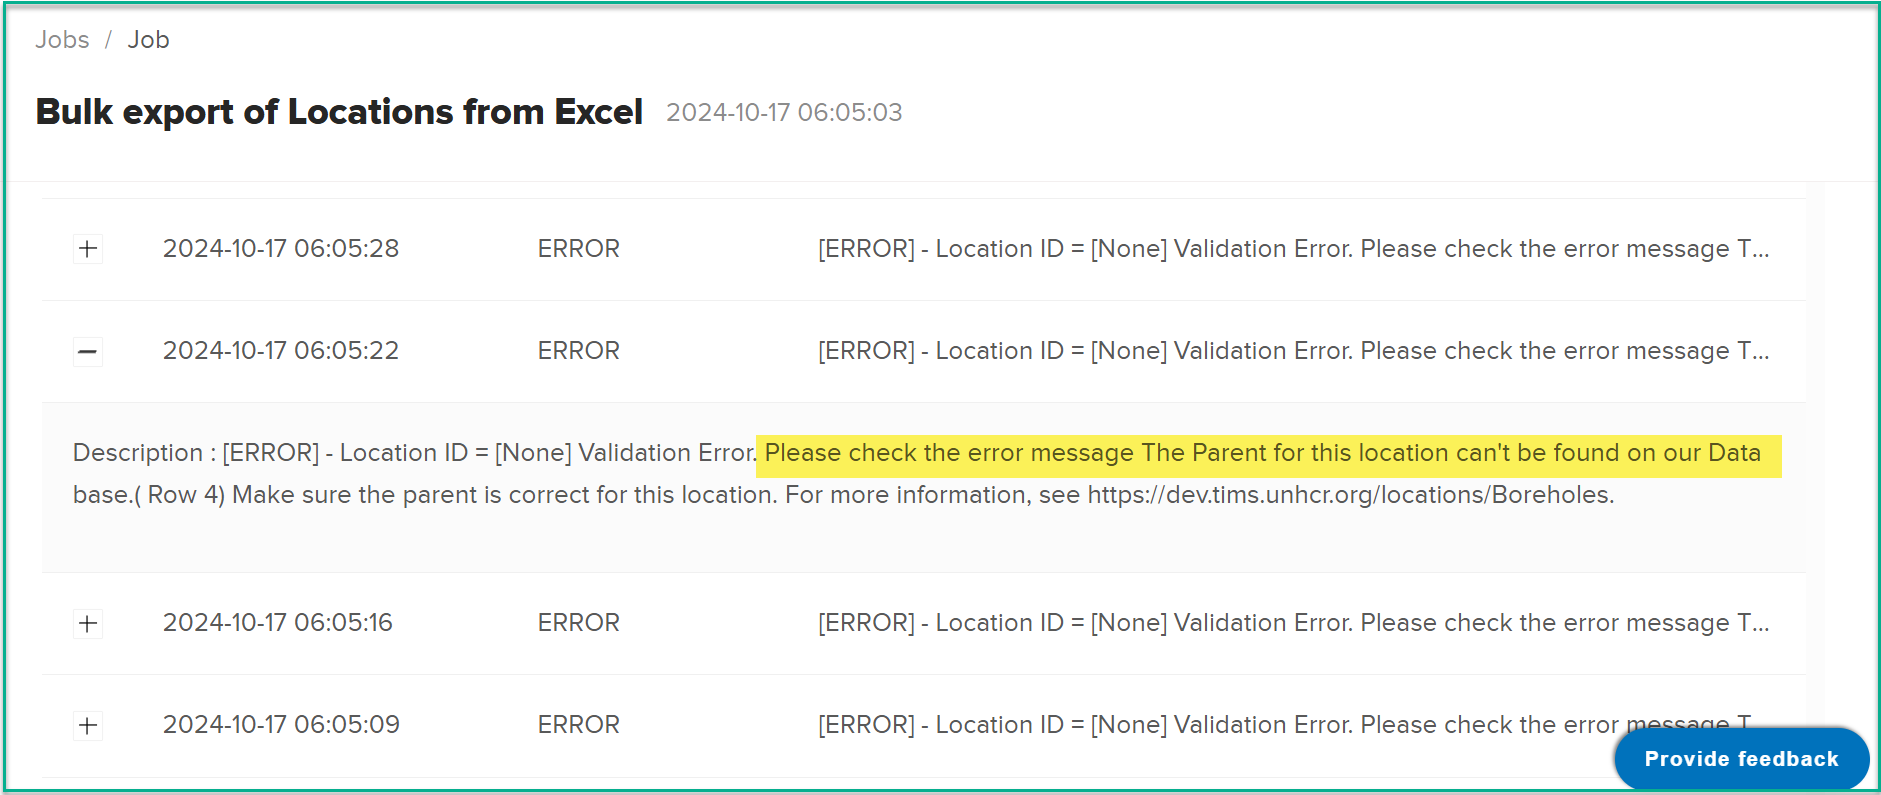
After uploading, go to the Jobs section from the Pending Activities page and check the upload progress. If the status is Completed, it means the data has been imported. If it Failed, check the error message and apply the required fixes.
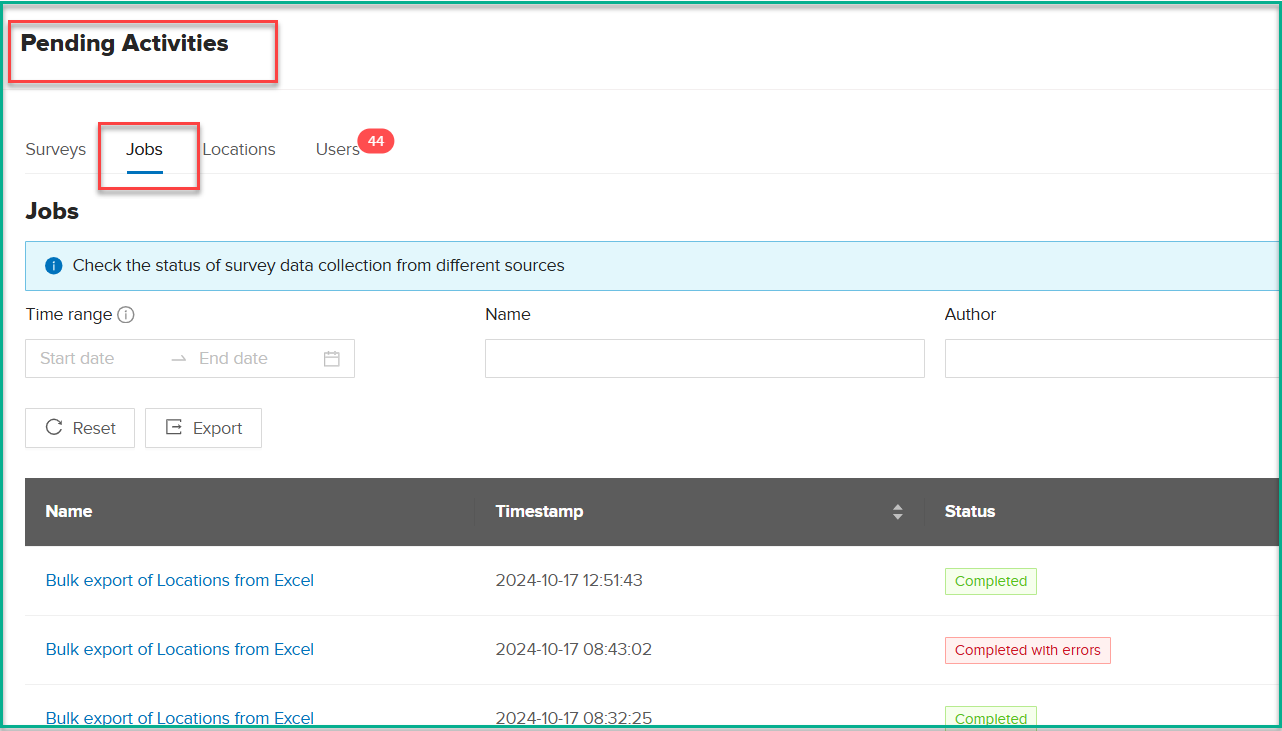
Note: Ensure that the Parent name is correct. If it is not, you will encounter an error, as shown in the image below.
Edit Borehole Info
Editing a single borehole record
What : Editing a single borehole record
Who : Global Admin and Country Admin.
How :
-
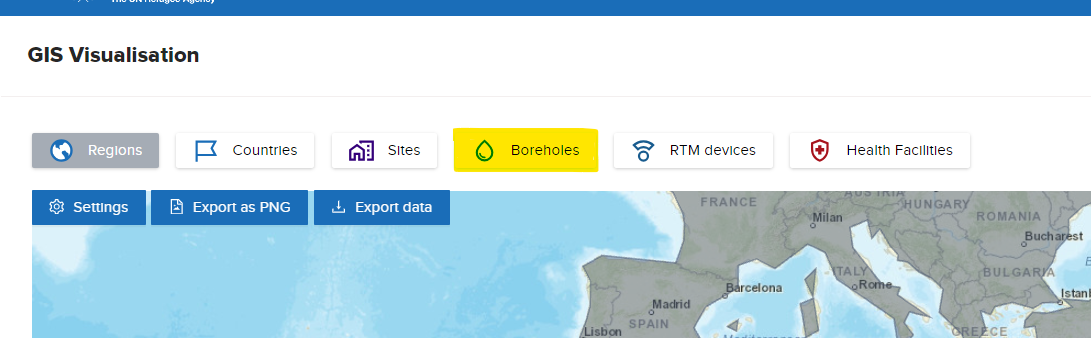
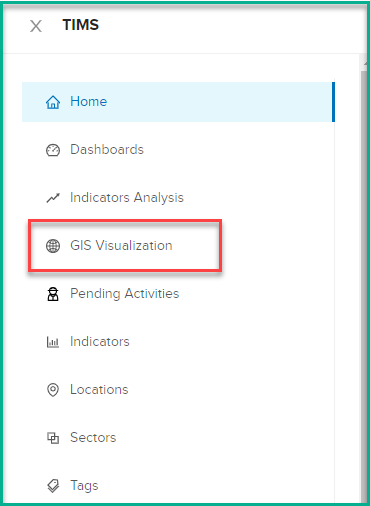
Open the GIS Visualization page
-
Click on borehole option .
-
Select the borehole location on the map by clicking on it. This will add a new record to the Selected Locations list.
-
In the Selected Locations list, click on the "Edit" button next to the borehole record. This will open a new page for editing the borehole details.
-
On the edit page, make the desired changes to the borehole information. You can modify attributes such as the borehole's name, coordinates, depth, water level, and other relevant data.
-
After making the necessary changes, review the updated information to ensure accuracy.
-
Once you are satisfied with the modifications, click the "Submit" button to save the updated borehole data.
Note:
- Global Admins have the authority to update any borehole in the system, regardless of its location. However, Country Admins can only update boreholes that belong to their designated country or area of responsibility. This ensures that Country Admins can manage and maintain the borehole data within their jurisdiction.
Editing a group of boreholes as a bulk import.
The dashboard provides several pre-defined filters to help users focus on specific data subsets.
What : Editing a group of boreholes as a bulk import
Who : Global Admin, Country Admin.
How :
-
Go to https://tims.unhcr.org/ in your web browser.
-
Sign in with your username and password.
-
After logging in, you will be directed to the Home page.
-
Navigate to the Locations page.
-
Click on the Boreholes option.
-
The system will open a new page.
-
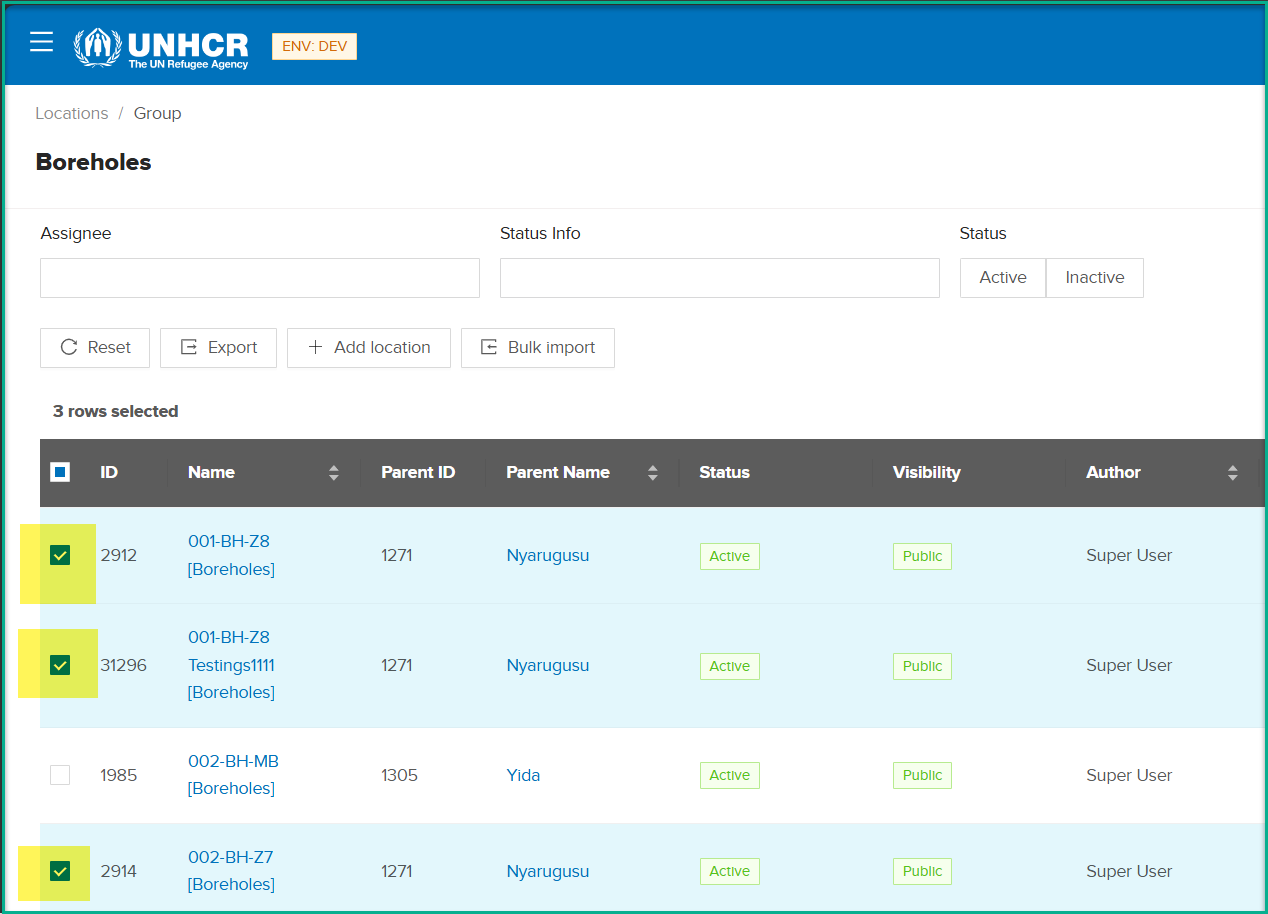
From the locations list, select the locations that you want to update data for.
-
Click on Export Button .
-
Open the file and make the required changes. Please note that you should not change Location ID, Location Group, Parent, and TIMS Status.
-
Save the changes.
-
Click on the Bulk Import button and upload the file.
-
Open the Jobs section from the Pending Activities page and check the upload progress. If the status is Completed, it means the data has been imported. If it Failed, check the error message and apply the required fixes.
-
Wait for the changes to be reflected. Please note that the waiting time depends on how many records are in the file.
View borehole on GIS Page
After adding a new borehole or updating one, the end user needs to wait some time for the change to reflect on GIS page . Once updated, they can filter for that borehole using the advanced filter.
-
Open the GIS Visualization page .
-
Click on borehole option .
The borehole section also offers a specific filter option to facilitate data exploration and analysis.
Users can apply filters to narrow down the displayed boreholes based on specific criteria. The available filters include:
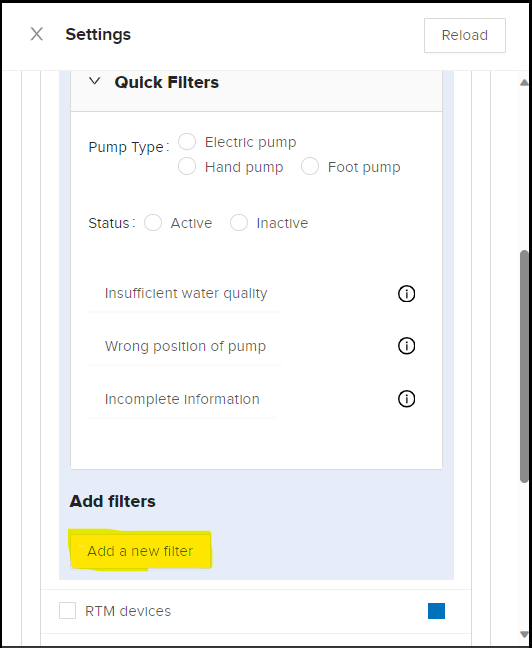
Pump Type: Users can filter boreholes based on the type of pump installed, such as Electric pump or Hand or foot pump. This filter allows for a targeted analysis of boreholes based on the pumping mechanism.
Status: Boreholes can be filtered based on their status, whether they are active or inactive. This filter enables users to focus on specific sets of boreholes based on their operational status.
Country: Users can apply a filter to display boreholes specific to a particular country. This filter allows for a country-specific analysis and exploration of boreholes within the selected country.
Advanced Filters:
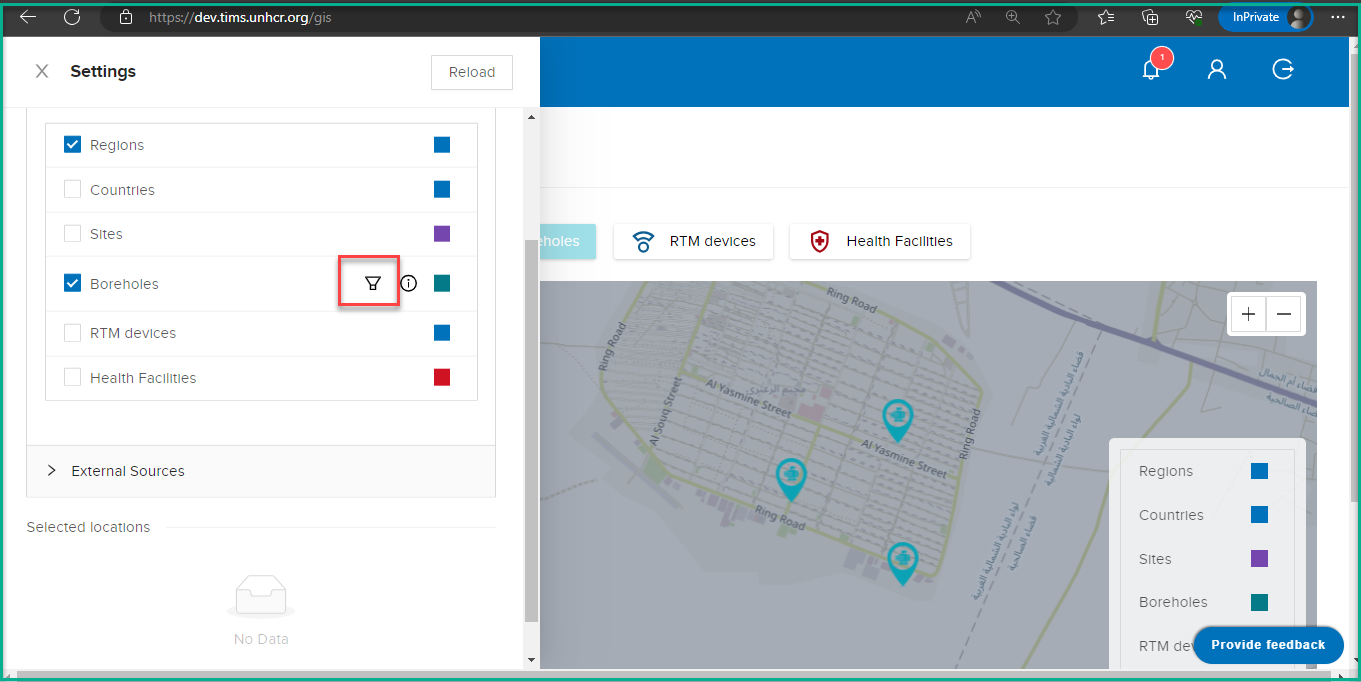
- Access the Advanced Filter :
In the GIS Visualization tool, locate the Borehole filter icon.

- Add a Filter Criteria:
Click on "Add Filter" to begin configuring your filter.
Choose a filter criteria from the available options. For example, you can filter by "Country," "Site," or "Has Attachment."
- Choose a Condition:
After selecting a filter criteria, a dropdown list of conditions will appear. Choose the condition that best suits your filtering needs. Conditions may include "Equal," "Not Equal," "Contains Data," or "Does Not Contain Data."
- Enter a Value:
Once you've chosen a filter criteria and condition, you'll need to enter a specific value that you want to filter by. For example, if you selected "Country" and "Equal," you would enter the name of the country you want to filter for.
- Apply the Filter:
After entering the value, apply the filter by clicking the "Apply Filter" button or a similar option. The system will process your filter criteria and display the filtered results.